
Get the Perfect Ceiling Texture Finish with This Handy Buying and Application Guide
If you’re looking to add some style and dimension to your ceilings, Homax ceiling textures are a great option. With so many texture types and application methods available, it can be tricky to figure out which products are best for your project. This comprehensive buying guide covers everything you need to know about choosing, prepping for, and applying Homax ceiling textures for flawless results.
An Overview of Homax Ceiling Textures
Homax manufactures a wide range of high-quality ceiling textures and coatings designed to replicate popular finishes like knockdown, orange peel, splatter, and more. Their selection includes water-based acrylic, water-based latex, and oil-based options for versatility. Some of their most popular products include:
- Perfect Spray Texture: An acrylic ceiling spray that dries fast and provides a medium orange peel finish.
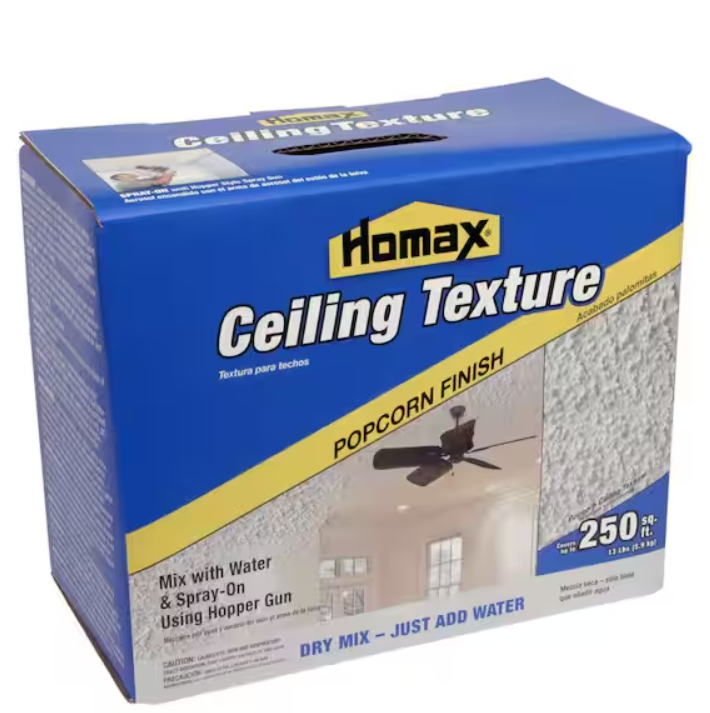
- Pro Grade Popcorn Ceiling Texture: Water-based formula that replicates a classic acoustic popcorn finish.
- Oil-Based Popcorn Ceiling Texture: An oil-based version of the classic popcorn style for more heavy-duty applications.
- Perfect Ceiling Coating: Acrylic coating that creates an orange peel texture when rolled on.
- Knockdown Ceiling Texture: Water-based compound that produces a knockdown style when paired with a stomp brush.
Homax also offers various additives that can be combined with their base coatings to create custom styles like splatter. Their diverse product range allows you to achieve almost any textured ceiling finish you desire.
Where to Buy Homax Ceiling Texture Products
Homax ceiling textures are sold at home improvement stores like Home Depot and Lowe’s, as well as online retailers like Amazon. Prices range from $10-40 per container depending on the texture type and size. Buying online can give you a wider selection of specialty textures not found in stores.
When purchasing, opt for the Homax brand over generic alternatives for superior quality and results. Be sure to get the right amount for your ceiling area – most textures cover up to 150-200 sq. ft. per container. Also pick up any application tools needed like a hopper gun, paddle, or stomp brush.
Matching Existing Textures
If you need to patch or repair existing textured ceilings, Homax makes matching much easier. Find an inconspicuous spot to remove a small sample of the texture and bring it to the store. The store associates can help identify the closest texturing product to recreate the look.
You can also contact Homax directly through their website – they may be able to pinpoint the exact product used originally. Taking good photos of your ceiling texture can help too. Matching the texture ensures a seamless blend with the rest of the ceiling.
Choosing the Right Ceiling Texture Type
With so many texture styles to choose from, how do you pick the right one for your space? Here are some tips for selecting a Homax ceiling texture:
- Light textures like orange peel or splatter work well in rooms with lower ceilings, making them appear higher. Heavier knockdown textures can feel overpowering.
- Subtle textures like Perfect Spray are great for modern or contemporary rooms. Go for a more pronounced style like Perfect Roll-On in traditional spaces.
- Use heavy splatter finishes to create an edgy, urban vibe in basements or game rooms.
- For bedrooms, lighter textures like orange peel promote feelings of coziness and comfort.
- In high-moisture areas like bathrooms, only use mold/mildew-resistant textures.
- For sale purposes, neutral mid-range finishes appeal to the most buyers. Make it a clean slate they can personalize.
Take the overall design aesthetic into account along with the ceiling height and use when choosing a Homax texture. Test samples first to ensure it creates the look you want before doing the entire ceiling.
Preparing Your Ceiling for Texture
Proper prep work is crucial for getting great results with Homax ceiling textures. Here are some tips:
- Clean the ceiling thoroughly to remove any dust, grease or peeling paint that could interfere with adhesion.
- Repair any cracks, holes or imperfections with spackle or joint compound and let fully dry.
- Sand glossy surfaces to dull the sheen so texture adheres better.
- Apply a high-quality primer like Zinsser’s Bulls Eye 1-2-3 before texturing.
- For new drywall, seal joints with mesh tape and joint compound to prevent cracks.
- Mark off walls, trim and ceiling edges with painter’s tape to keep overspray off surfaces.
Prepping properly takes more time upfront but prevents issues like uneven texture and peeling later on.
Application Tools Needed
Homax ceiling textures can be applied in various ways depending on the product. Here are some common application tools and materials you’ll need:
- Paddle Mixer – Used to mix texture compounds to a smooth, lump-free consistency.
- Paint Roller – For roll-on textures like Perfect Ceiling Coating. Use a 1/2” nap roller.
- Hopper Spray Gun – Provides consistent, uniform spraying for Perfect Spray and other ceiling paints.
- Air Compressor – Powers the hopper spray gun. Make sure it provides adequate CFM for ceiling spraying.
- Drywall Knife – For scraping off any texture overspray on walls and trim.
- Taping Knife – Used to “knock down” wet sprayed-on textures to the desired finish.
- Stomp Brush – Special brush on a handle for stomping knockdown textures.
Having the right tools makes achieving the texture you want much simpler. Buy quality equipment that will last.
Applying Water-Based Homax Ceiling Textures
Water-based ceiling textures like Perfect Spray and Knockdown are some of the most popular. Here are tips for applying them flawlessly:
- Mix the texture thoroughly before pouring into the hopper gun using a power drill and paddle mixer. Add water if needed.
- Strain the mix through a paint filter to catch any leftover clumps. This prevents clogging.
- Keep ceiling coats light and even. Apply 1/16 to 1/8 inches thick.
- For knockdown textures, lightly spray the ceiling first. Follow with a second, heavier coat.
- Use broad, circular motions with the spray gun to achieve an even coat. Avoid drips.
- Wait 5-15 minutes after spraying for the texture to become tacky, then knock it down with the drywall knife or stomp brush. Knock gently to avoid digging into the texture.
- Overlap knockdown strokes to create peaks and valleys for the desired finish.
It takes some practice to learn technique, but water-based textures allow for easy adjustment. Just spray and stomp until the look you want appears.
Tips for Applying Oil-Based Homax Textures
Homax also offers oil-based popcorn and orange peel ceiling textures. The application process differs a bit:
- Pre-mix the texture before pouring into the hopper to avoid clogging issues.
- Adjust the gun to produce a wider fan spray pattern for heavier ceiling coatings.
- Work in small sections and apply a thick, uniform texture layer before moving on.
- Overlap each section to create a seamless transition on the ceiling.
- Avoid spraying too thin or too heavy. Uneven sections will be obvious when dry.
- Don’t knock down oil-based textures – simply spray and leave once dry to the touch.
- Oil-based textures dry fast, so work efficiently to avoid lap and texture marks.
Take your time with oil-based coatings for best results on the first try. Consider hiring a pro if you lack experience spraying heavy ceiling textures.
Painting Over Homax Ceilings Textures
One advantage of Homax products is that most can be painted once fully dry for extra customization. Here are some tips:
- Allow 24-48 hours for the texture to fully dry before painting to prevent adhesion issues.
- For smoothest coverage, apply the first coat of paint with a high-nap roller. Use an angled cutting brush around edges.
- Avoid gloss or semi-gloss sheens which highlight imperfections in heavy textures. Opt for flat or matte.
- Use two coats of paint for best coverage and an even satin appearance.
- Primer isn’t mandatory, but can help the paint adhere better if spraying over slick finishes like orange peel.
- Apply paint cautiously to avoid damaging the texture ridges. Roll gently and don’t overbrush.
- Clean up drips right away and maintain a wet edge between sections to prevent lap marks.
With the right prep and application method, painting textured ceilings can really make them stand out!
Can Homax Be Used on Walls?
While Homax products are formulated primarily for ceilings, they can also be adapted for texturing walls:
- Use a light touch when spraying walls to avoid overloading the texture or drips.
- For knockdown finishes, knock perpendicular to the wall rather than circular motions.
- Backrolling after spraying helps press the texture into the wall for better adhesion.
- Opt for subtler textures like orange peel rather than heavy popcorn or splatter finishes.
- Additives like Metatex can be mixed in to create thinner, smaller textures suitable for walls.
- Prime walls before and after texturing for maximum durability with regular cleaning.
Finish edges where walls meet ceilings manually for the most seamless transition between surfaces. Finesse and precision comes into play when texturing walls versus ceilings.
Cleanup and Storage
Follow these tips for quick, easy cleanup and proper storage after finishing your texturing project:
- Clean tools and overspray with water before the material dries. Use soap and water for oil-based textures.
- Reseal containers tightly to prevent drying out if storing leftover texture for touch-ups.
- Place accessories like hopper guns and knives in airtight bags so they don’t clog with dried texture.
- Store at room temperature away from extreme cold or heat to maximize shelf life.
- Check labels for full cure times. Wait the recommended duration before cleaning to avoid damage.
- Use mineral spirits followed by warm, soapy water to remove dried-on overspray from surfaces.
Proper cleanup and storage allows you to reuse Homax products for future texturing needs. Handle them with care to get the most value from your investment.
Maintaining and Repairing Homax Ceilings
Homax ceiling textures are designed to be long-lasting and durable. However, they may need occasional maintenance or repairs:
- Use a broom instead of a vacuum when cleaning textured ceilings to avoid damage. Gently sweep to remove dust.
- Repair minor cracks or holes with spackle and touch up texture using the same application technique.
- For water damage or large failing areas, cut back texture to create a solid base to recoat. Match the existing texture.
- Address moisture issues before recoating to prevent the problem recurring. Allow repairs to fully dry.
- Wipe with a damp microfiber cloth and mild cleaner to remove stains from paint or smoke damage.
- Badly soiled or yellowed ceilings may need priming and repainting for a refreshed appearance.
With proper care and prompt attention to issues, Homax ceilings can continue looking great for years before needing retexturing.
Achieving a Flawless Finish with Homax
The right Homax ceiling texture can take your rooms from boring to bold. With this comprehensive buying and application guide, you have all the info needed to pick the perfect style for your space. Prep properly, use the right tools, and apply with care. In no time, you’ll have showstopping ceilings that wow!